MFA, Microsoft Authenticator
The Microsoft Authenticator app enhances security for our digital learning environment. You need MFA to log into Canvas, Ladok, and Zoom. This additional protection prevents unauthorized access to your account even if your password falls into the wrong hands
The Swedish Defence University will primarily use the app for so-called multi-factor authentication (MFA). In practice, you will need the app when you are outside the FHS network and want to access, for example, e-mail or Zoom.
When you want to open a system outside the FHS network, you will first enter your password. After that, you will need to confirm your identity in the app on your mobile phone. This is usually confirmed by entering a combination of numbers that appears where you want to log in.
This extra protection prevents unauthorised people from accessing your accounts even if your password falls into the wrong hands.
Prepare your computer and your phone
To be able to make settings of the app, you need to prepare. Make sure that:
- You are on the Swedish Defence University's network and have access to a computer. Go to: https://aka.ms/mfasetup
- You've successfully downloaded the Microsoft Authenticator app to your phone via App store or Google play
You need to work with both computer and mobile device in parallel according to the different steps in the instructions.
Step 1 - Go to the MFA setup website on your computer
- On your computer, open Chrome or Edge
- Go to the address https://aka.ms/mfasetup
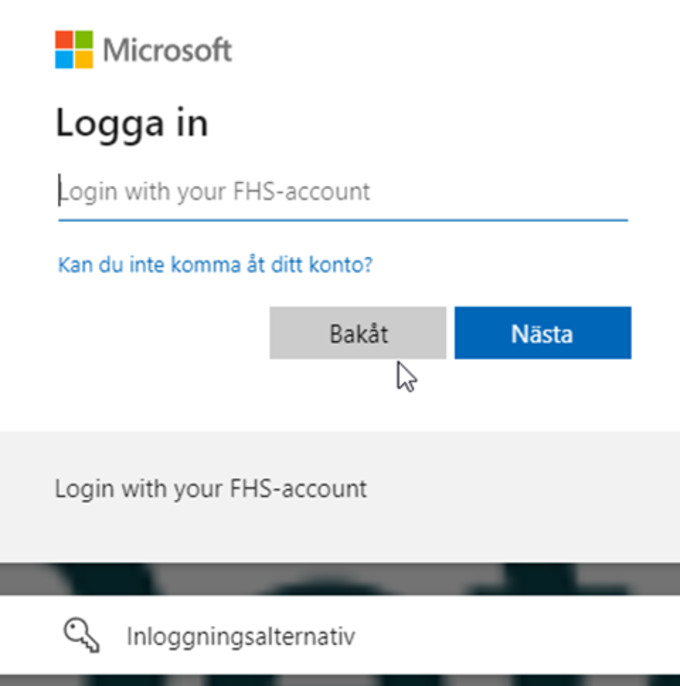
Step 2 - Log in with your credentials
- Enter your student account with which you log in to the computer, xxxxxx@fhs.se.
- Click Next.
- Enter your password and click next
If you don't get the login box, you're already logged in and end up on the next slide.
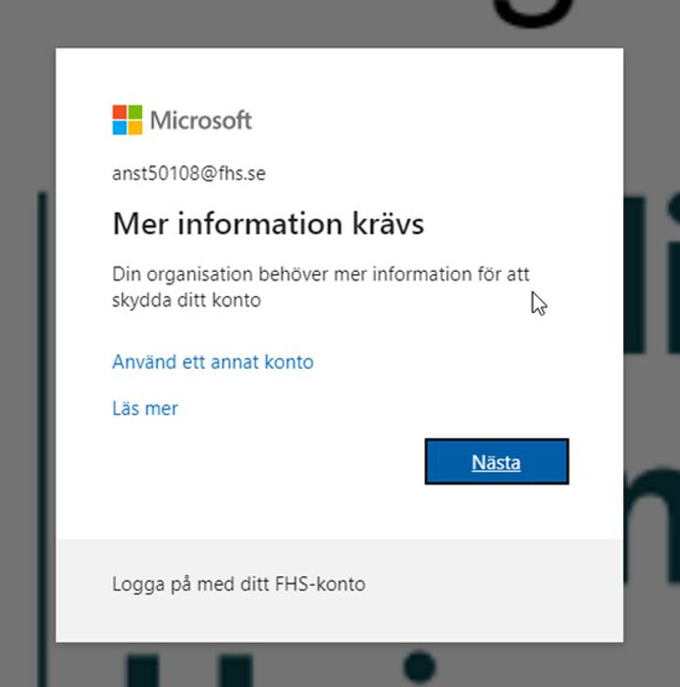
Step 3 - More information required
- Click Next
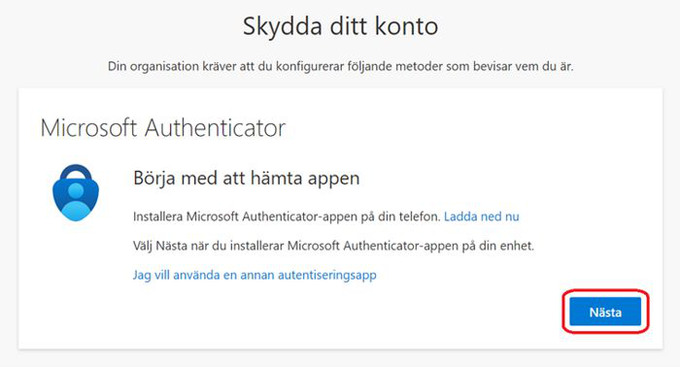
Step 4 - Prompt to download the app
- If you haven't already downloaded the app to your phone, you need to do it now.
- Click Next.
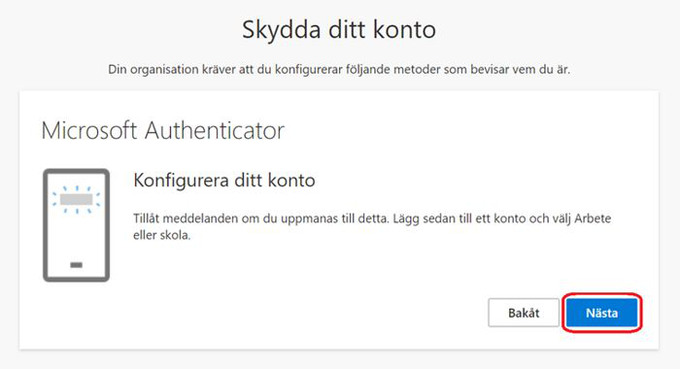
Step 5 - Set up your account
Now that you have the app on your phone, you're ready to go. Click Next.
Step 6 – Pick up your phone, go through further steps there
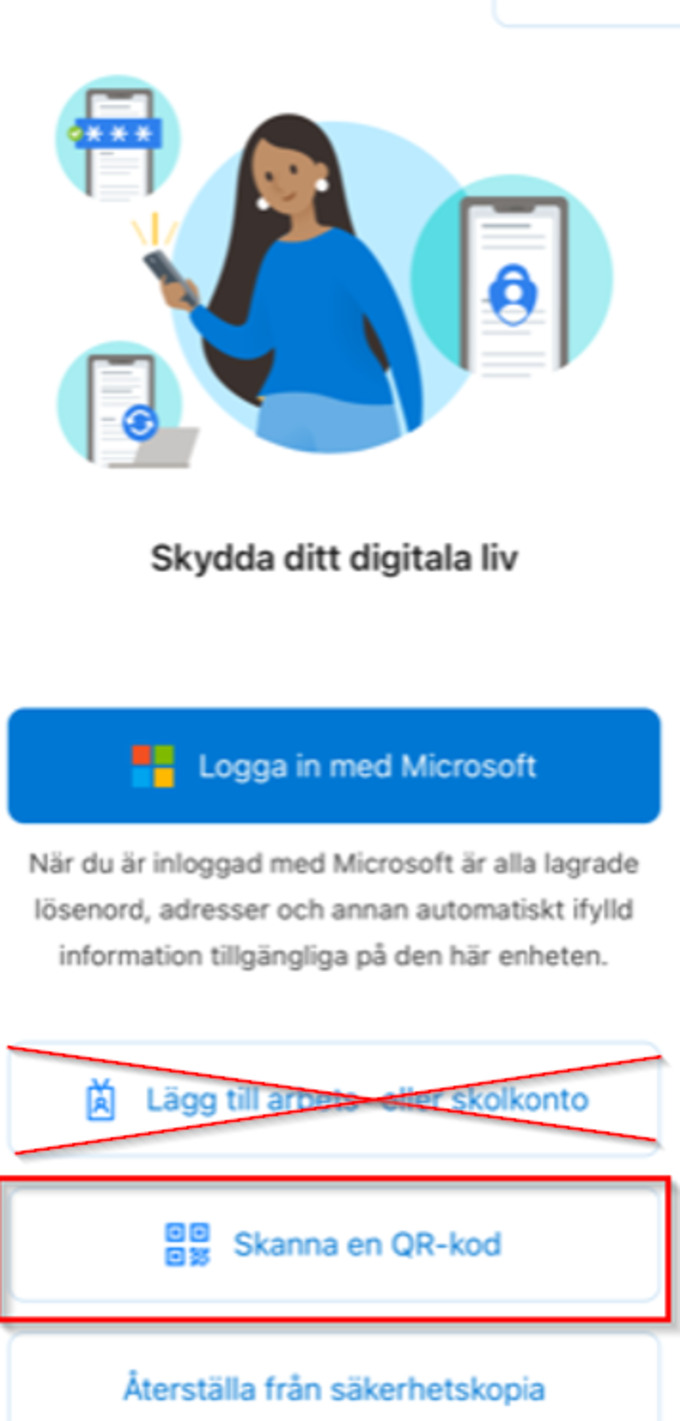
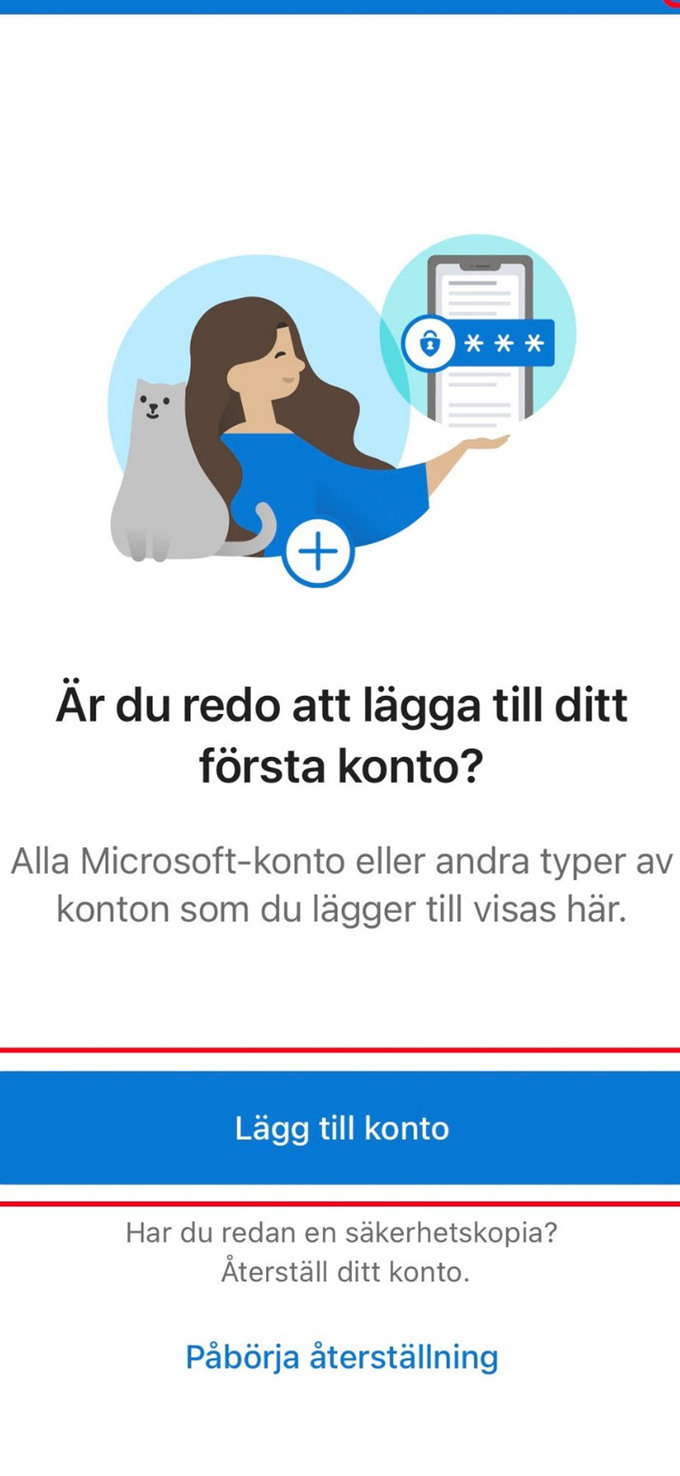
Step 7 - Open the app
- Open Microsoft Authenticator
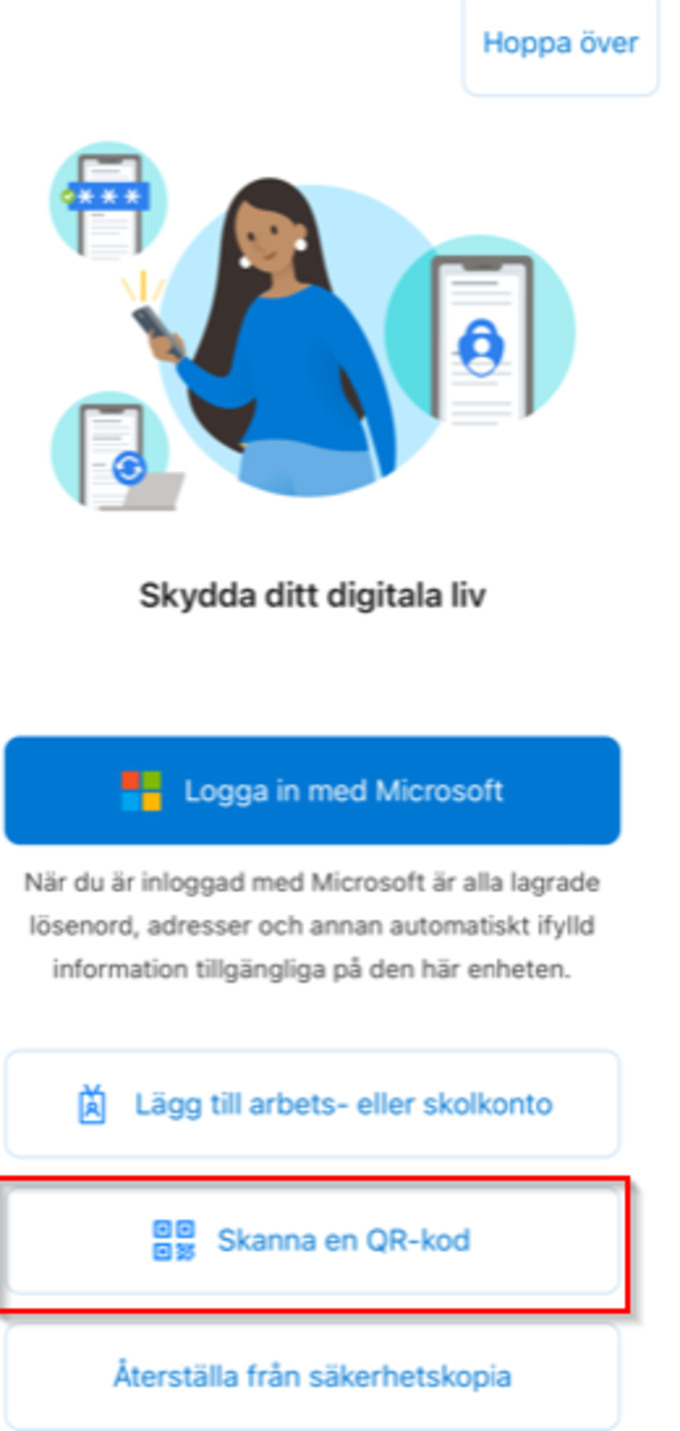
- Depending on which image pops up, select option A or B
- A. Click on "Scan QR Code
- B. Click on "Add account" or on "+" in the top right corner.
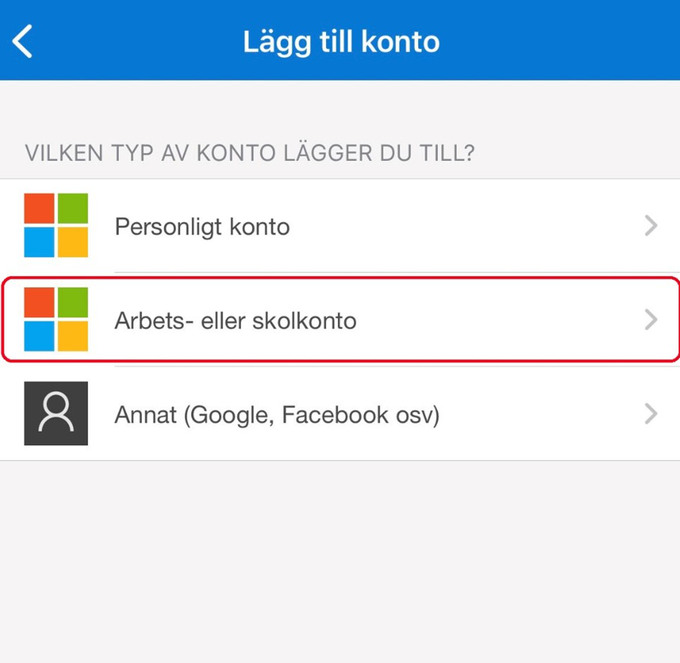
Step 8 - Select the type of account
- Select "Work or School Account."
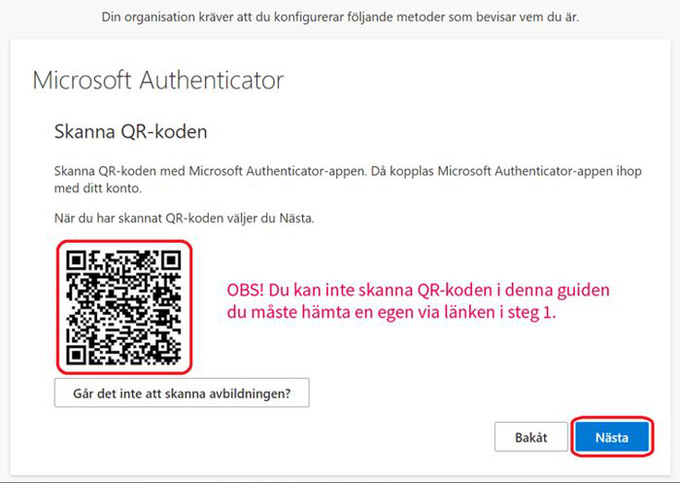
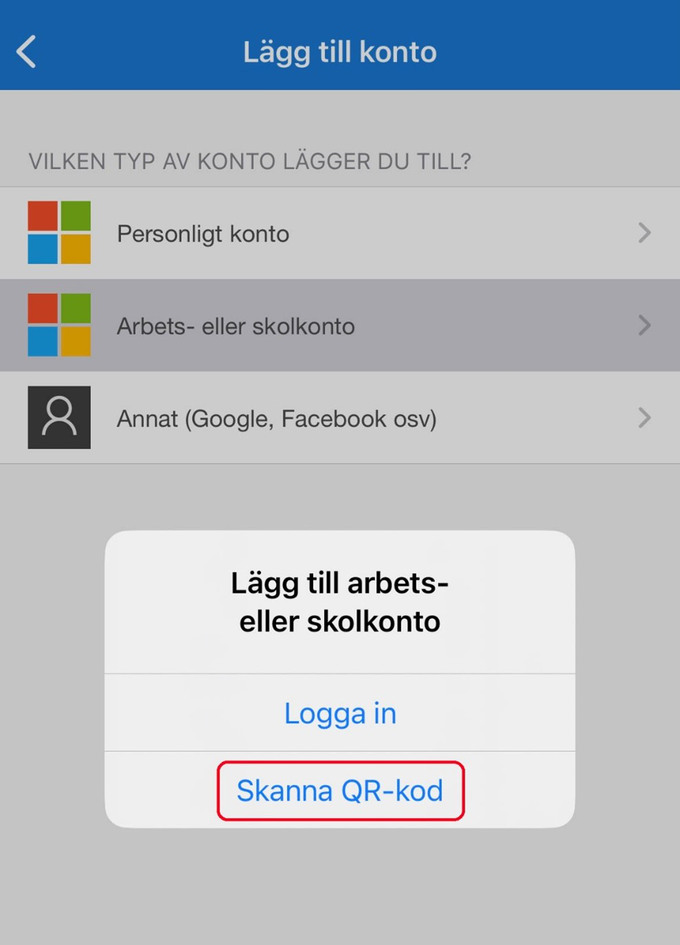
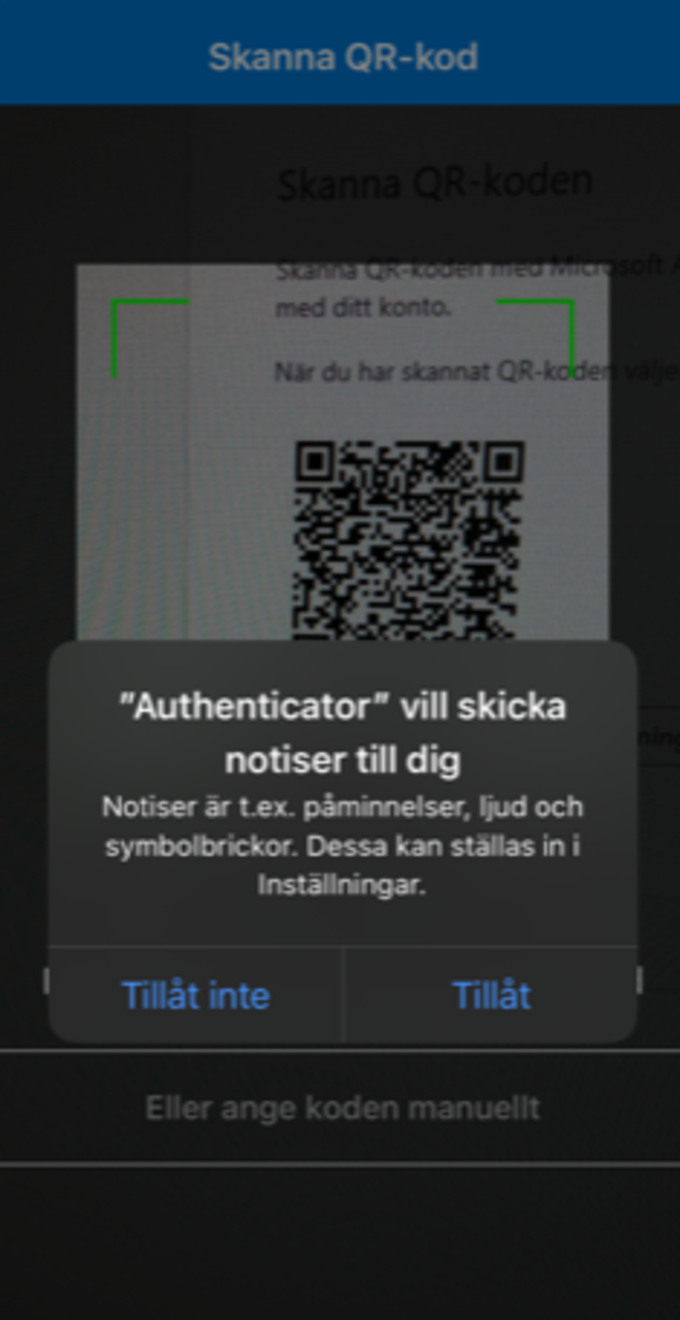
Step 9 - Choose to scan QR code
- Click Scan QR Code.
- You may need to give the app permission to use the camera.
- Next, scan the QR code that you see on your computer screen from step 6.
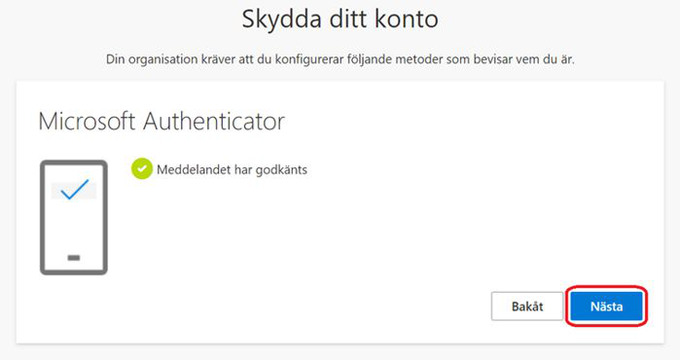
Step 10 – Check that your computer is trying to connect
Once you have scanned the QR code, this box will appear on your computer. Before you can click on, you need to approve the login on your mobile.
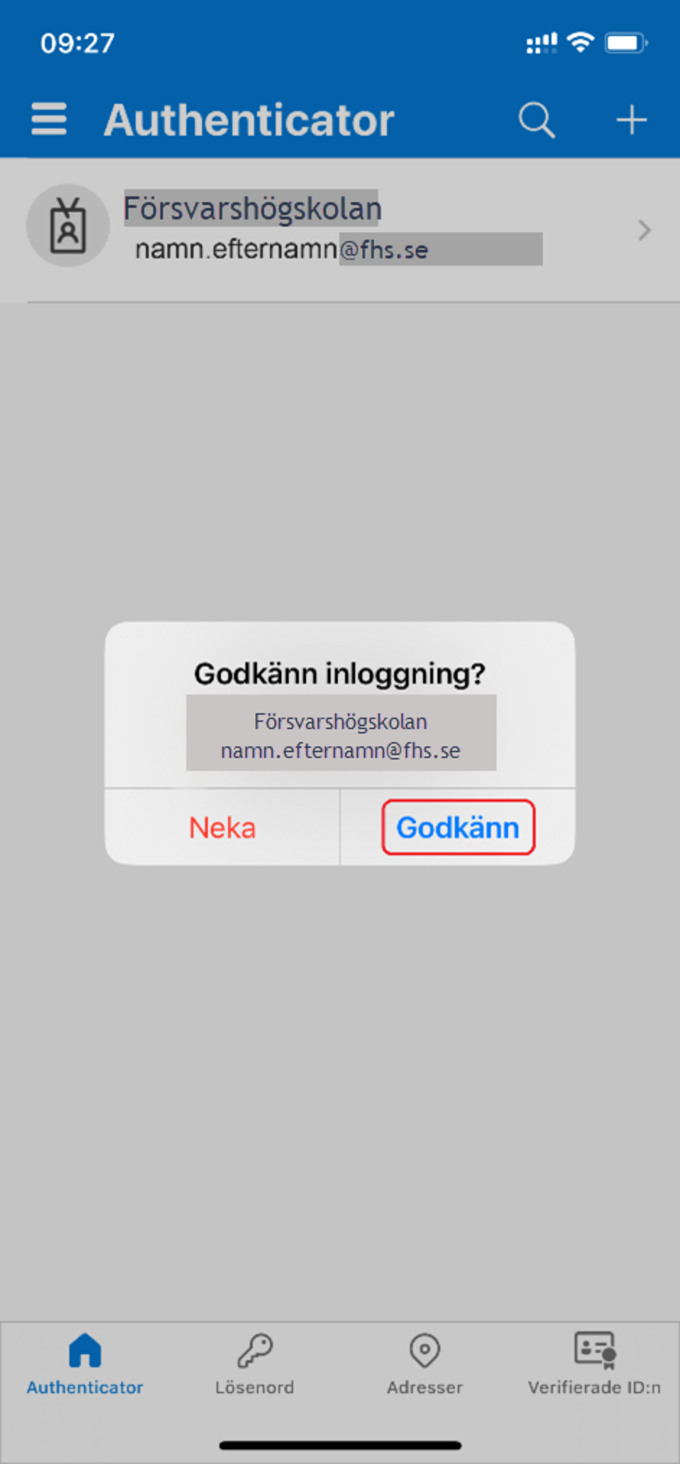
Step 11 - Approve in-app login
- Click Approve on mobile.
After you've approved the sign-in, you'll need to enter your PIN (or confirm with Touch ID or Face ID) that you'll use to unlock your phone.
THIS STEP IS ESSENTIAL FOR THE MFA TO WORK!
Step 12 - Check that the computer says it's OK
- Click Next

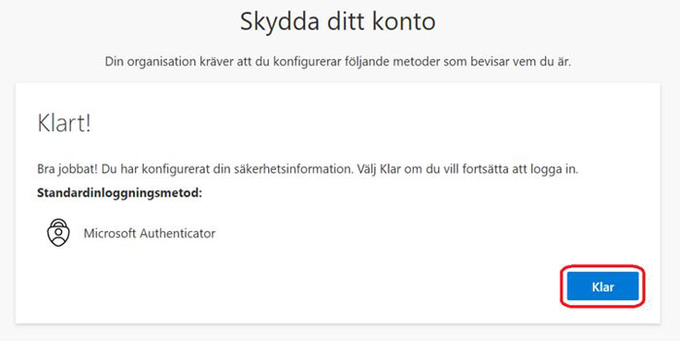
Step 13 - Now you're done
If everything has gone as expected, you're done.
- Click Done.
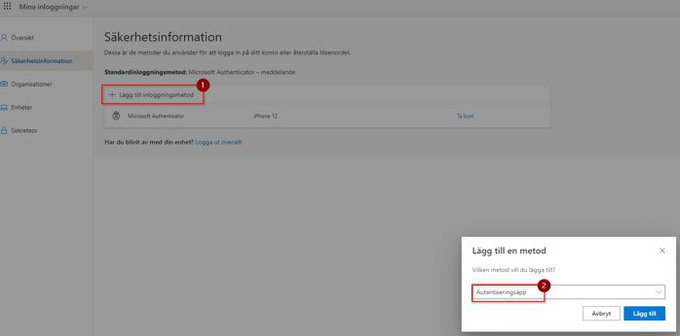
If you land on the security info page, select
- + Add login method
- Authenticator app
- Add
You should be in the right place now and can proceed with the steps on the screen.
Notes
Select Allow Notifications .
If you answer Don't allow notifications, you won't be able to see when the app needs to be used.
If you need to change from Don't Allow to Allow, you can do this in your phone's settings for notifications afterwards.
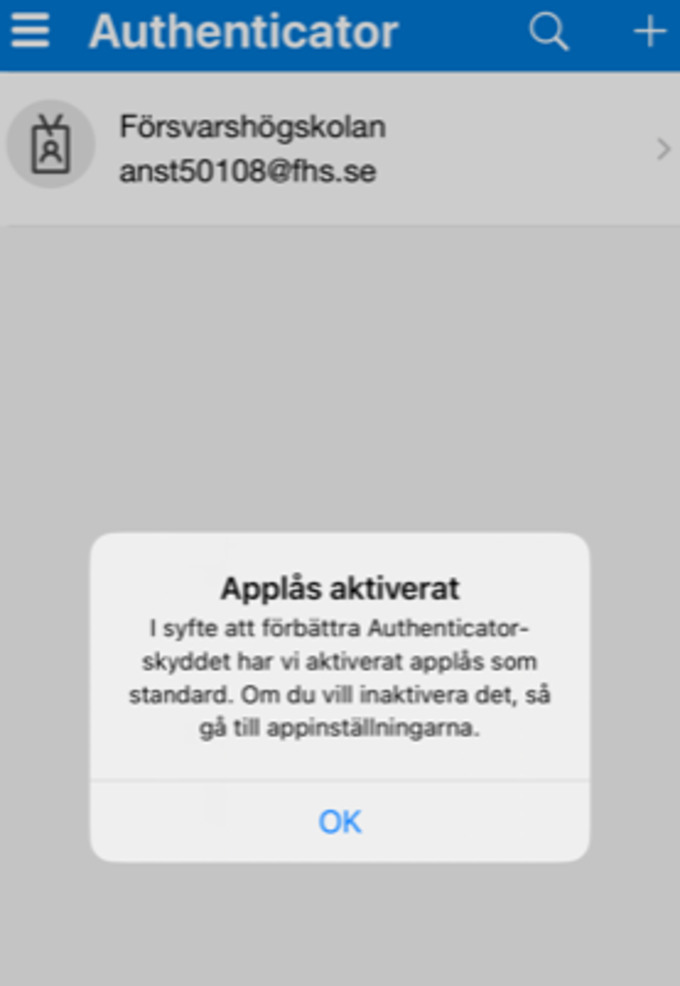
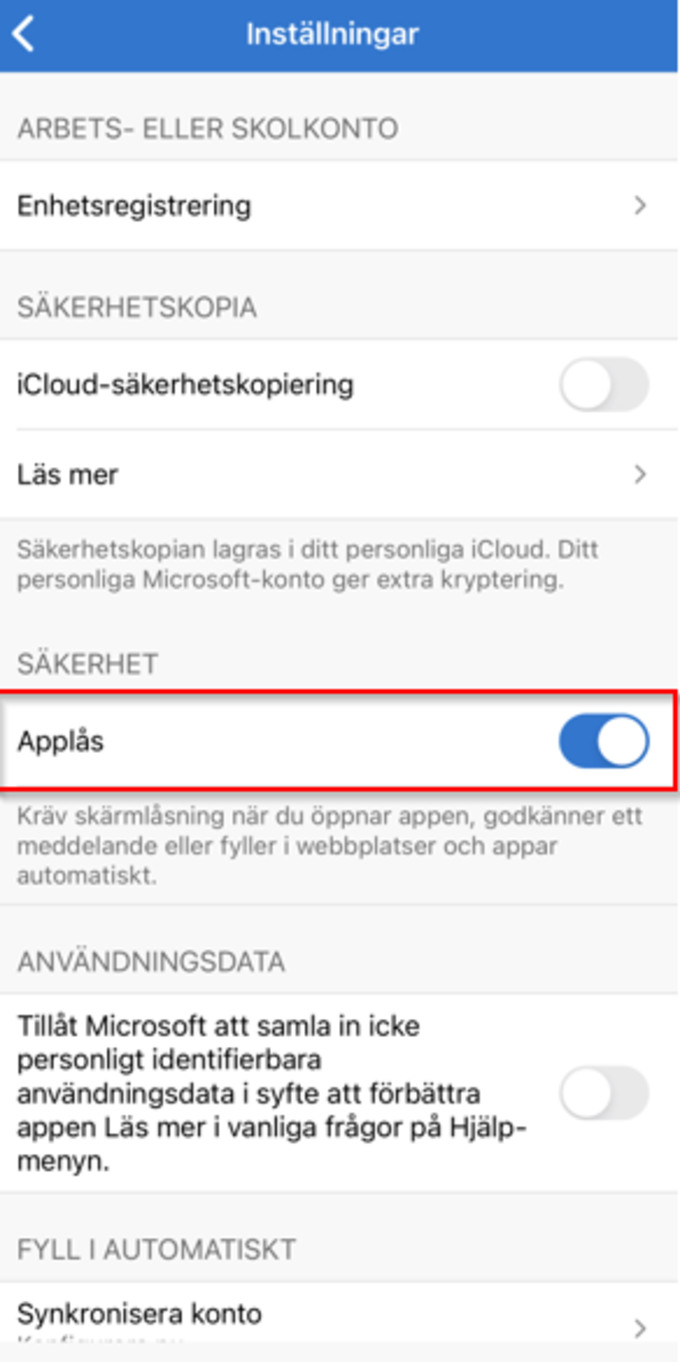
App Lock
This dialog box pops up during activation. App Lock means that you need to type in your phone's code every time you want to access the authenticator app. We recommend that App Lock be turned off until further notice.